TBA: Build MPCNC Router

  1. Let’s Look at the Material Requirements

1. Let’s Look at the Material Requirements

Item Price Quantity Total Location
Bauer 4 1/2″ Compact Circular Saw $64.99 1 $64.99 https://www.harborfreight.com/58-amp-4-12-in-compact-circular-saw-56164.html
Hercules 4 1/2″ 36T Circular Saw Blade $12.99 1 $12.99 https://www.harborfreight.com/4-12-in-36t-general-purpose-circular-saw-blade-70699.html
PowerTec 36″ Circular Saw Guide $39.89 1 $39.89 https://www.amazon.com/gp/product/B0CJ2KFKGL/
Bauer Router (Makita Clone) $59.99 1 $59.99 https://www.harborfreight.com/65-amp-variable-speed-compact-router-58253.html
Elegoo PLA Filament 1kg $16.19 2 $32.38 https://www.amazon.com/dp/B0BTGXDFRK
MPCNC Build Kit $242.99 1 $242.99 https://www.v1e.com/products/mostly-printed-cnc-parts-bundle-primo-version
Jackpot CNC Control Board $65.49 1 $65.49 https://www.v1e.com/products/mostly-printed-cnc-parts-bundle-primo-version
Additional 1 Meter of Belt GT2 10mm $2.49 3 $7.47 https://www.v1e.com/products/mostly-printed-cnc-parts-bundle-primo-version
Stepper Motor Extender Wires $2.99 5 $14.95 https://www.v1e.com/products/wiring-kit-1
Extra Limit Switches $1.59 2 $3.18 https://www.v1e.com/products/limit-switch-endstop
Z-Axis Tiny Touch Plate $8.99 1 $8.99 https://www.v1e.com/products/tiny-touch-plate
Steel Conduit 3/4″ x 10 ft $9.98 2 $19.96 https://www.homedepot.com/p/3-4-in-x-10-ft-Electric-Metallic-Tube-EMT-Conduit-853429/100400406
Tubing Cutter, 1/4-inch to 1-1/8-inch $22.27 1 $22.27 https://www.amazon.com/gp/product/B001P307PO/
MDF for Spoilboard and Other Uses $48.98 1 $48.98 https://www.homedepot.com/p/3-4-in-x-4-ft-x-8-ft-MDF-Panel-D11612490970000/304325742
Double Sided Foam Tape $16.99 1 $16.99 https://www.amazon.com/gp/product/B098XGZ1H4/
1/4″-20x20mm Threaded Inserts to Mount Spoilboard to Workbench $8.88 1 $8.88 https://www.amazon.com/gp/product/B08JY91R4Y/
M5 x 55mm Hex Head Cap Screws (Qty 25) $8.26 1 $8.26 https://www.amazon.com/gp/product/B089QJSYQ3/
T-Nuts 1/4”-20 x 5/16” L (120 Pieces) $9.99 1 $9.99 https://www.amazon.com/Socell-Assortment-Climbing-Cabinetry-Furniture/dp/B07NS8TYMF/
5 x 25mm Metal Dowel Pins $8.99 1 $8.99 https://www.amazon.com/Glarks-50-Pieces-Stainless-Support-Elements/dp/B07F3TWSBY/
1/4″-20 1 1/2″ Long Threaded Rod (Qty 10) $6.88 2 $13.76 https://www.mcmaster.com/95412A546/
1/4″ID x 1″OD Washers (Qty 40) $6.19 1 $6.19 https://www.amazon.com/gp/product/B0BZYSSWY8/
1/4″-20 Wing Nuts (Qty 20) $6.69 1 $6.69 https://www.amazon.com/gp/product/B06XX61RKQ/
Grand Total $724.28

2. Guide to Building an MPCNC Router

The creators or the MPCNC, who also provide kits and parts for them, have an exhaustive guide on how to build an MPCNC located here: https://docs.v1e.com/mpcnc/intro/


3. Mounting a Spoilboard to the Workbench

We will be using MDF sheet for the spoilboard of the MPCNC router. Luckily MDF comes in the size of 49″ x 97″ x 0.75″ so it is slightly wider and longer than 4ft x 8ft. This will allow you to get eight spoilboard pieces that are 24″x24″ from a single sheet of MDF. I highly recommend buying the MDF from a store that will cut it up for you such as Home Depot. That said, you may wish to make the final cuts yourself. If so I would use the compact circular saw mentioned above along with a circular saw guide or straight edge.

I designed the spoilboard to mount nearly up against the back MPCNC feet. The raised corner of the 3D printed jig will provide the space between the corner of the spoilboard and the MPCNC feet. The short side of the jig is for the Y-Axis and the long side of the jig is for the X-Axis. You will want to use a couple squeeze clamps to hold the MDF to the workbench.

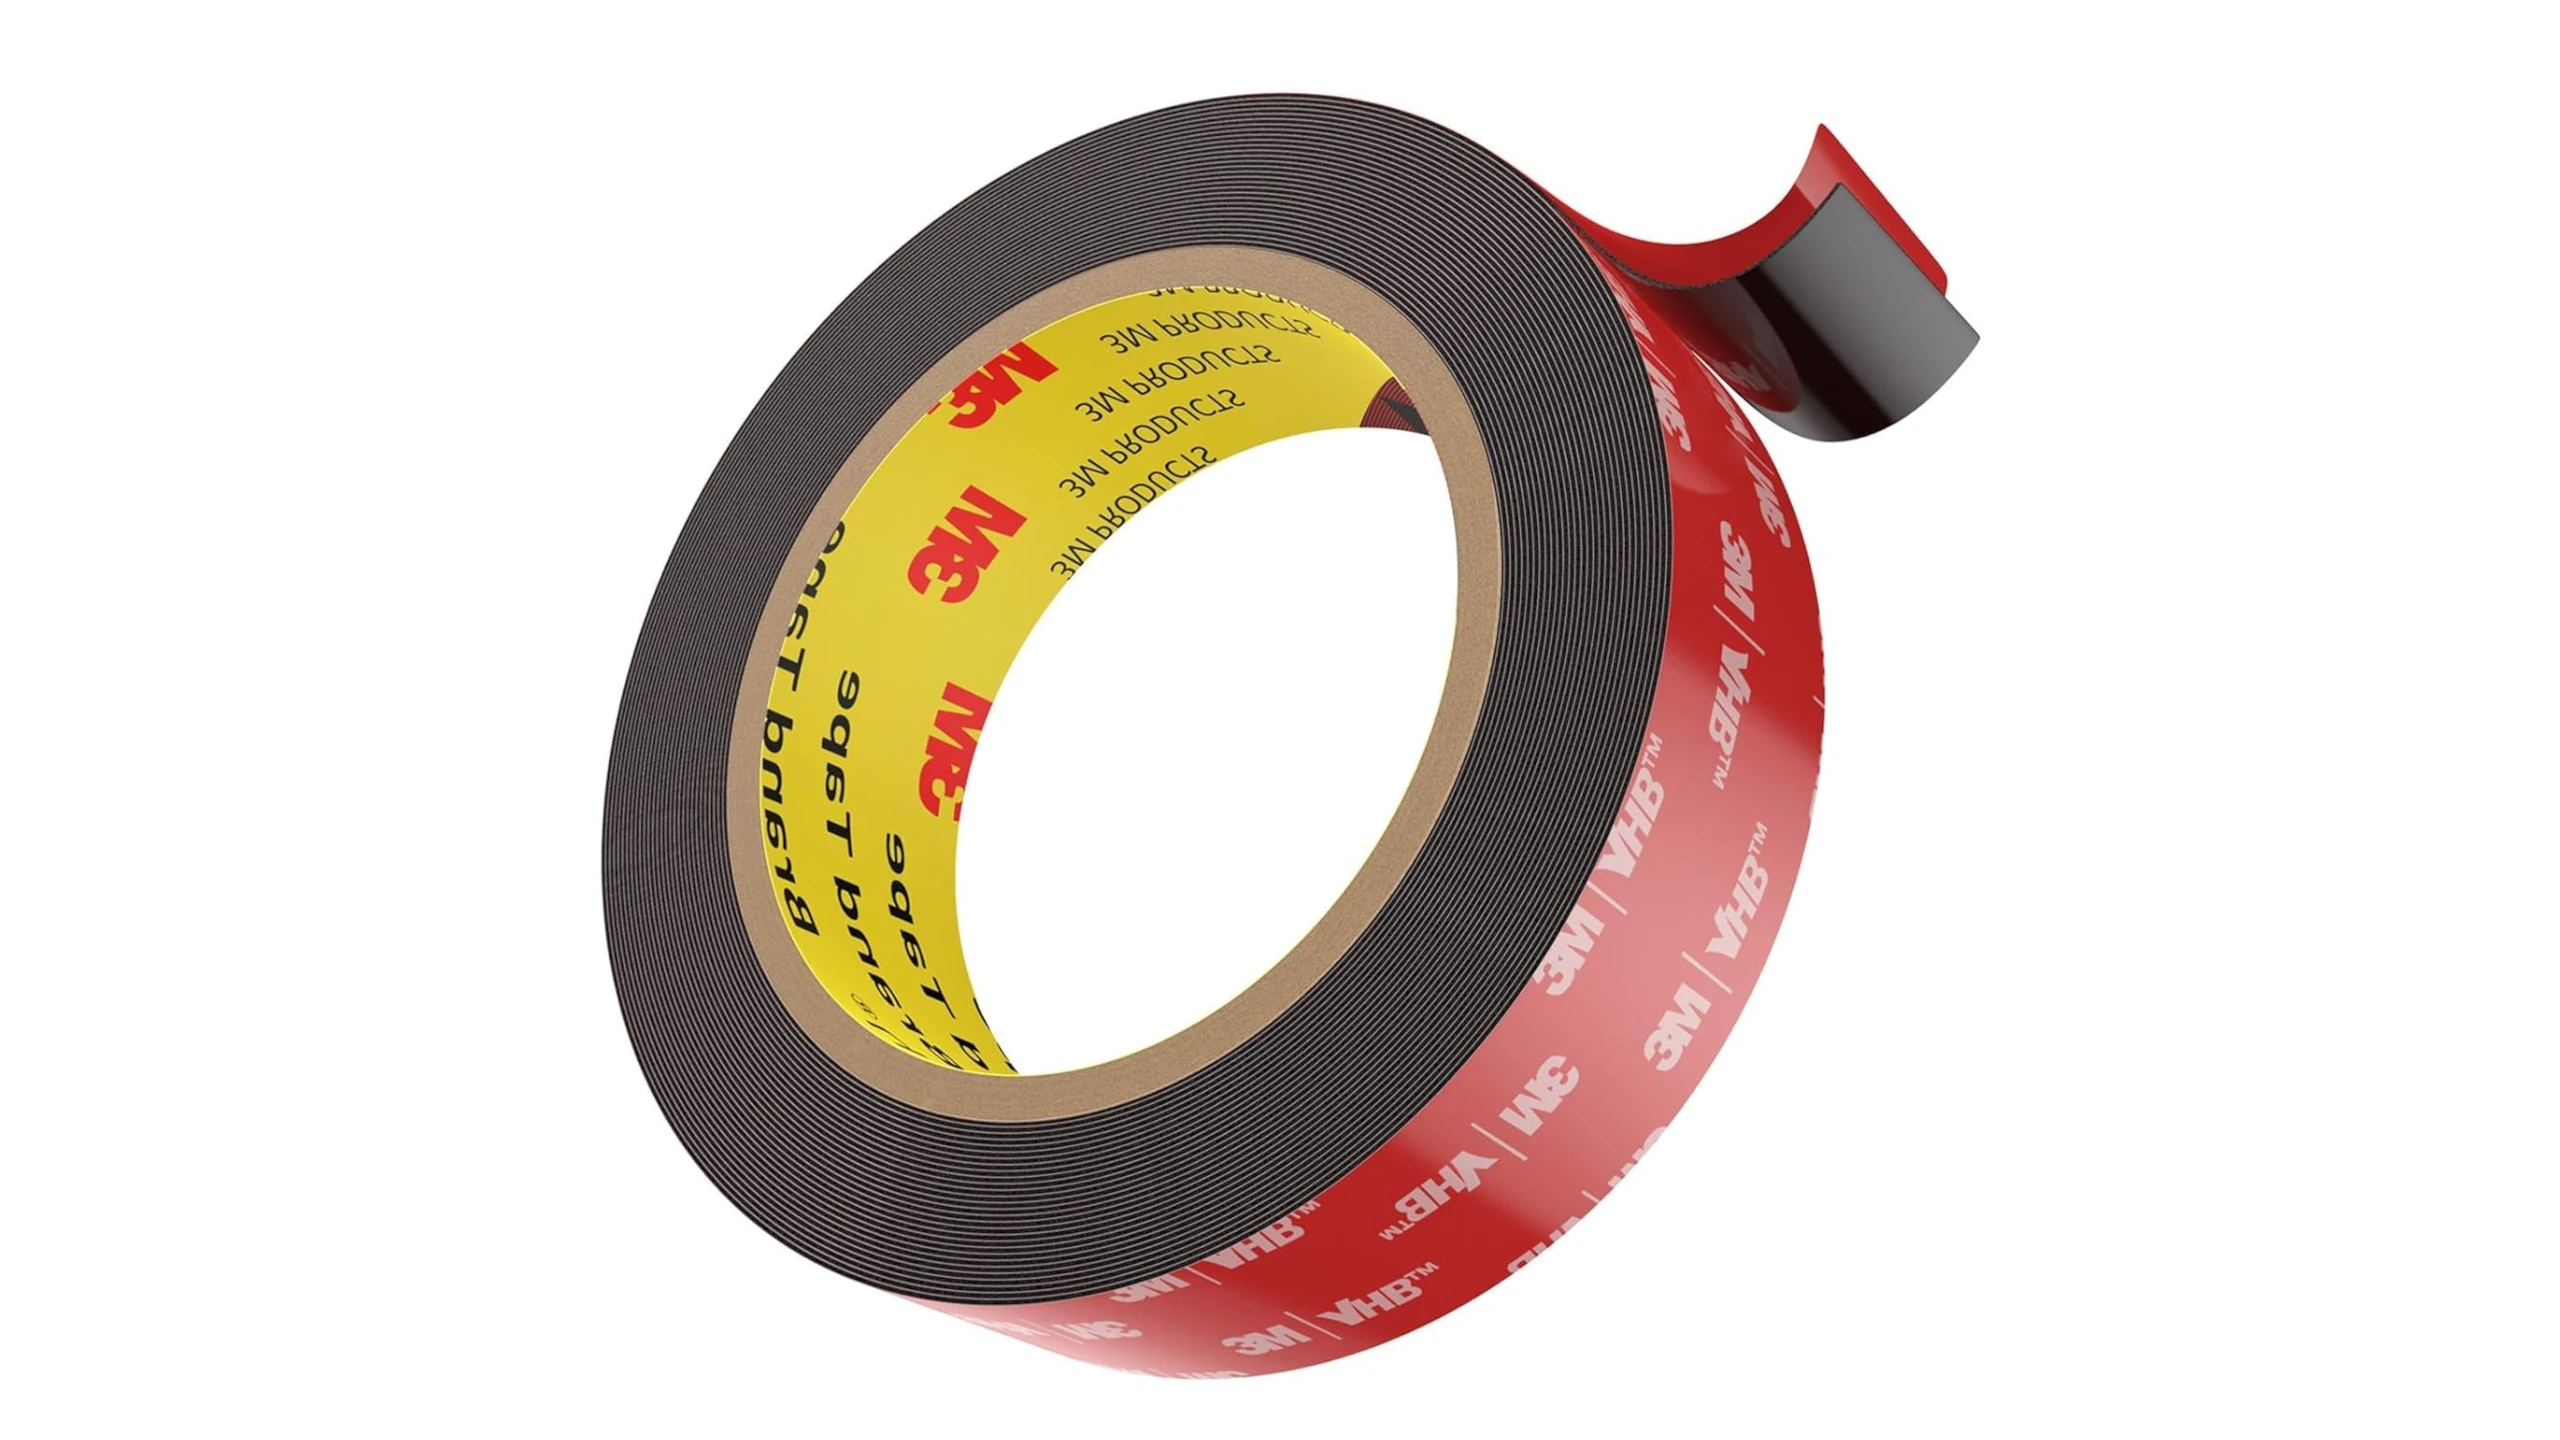
I strongly recommend using double-sided foam mounting tape and placing a piece on the jig so that the jig is taped to the spoilboard. This will ensure it does not move when you are drilling the holes, increasing their accuracy and making it easier if you ever need to replace the spoilboard on your router.


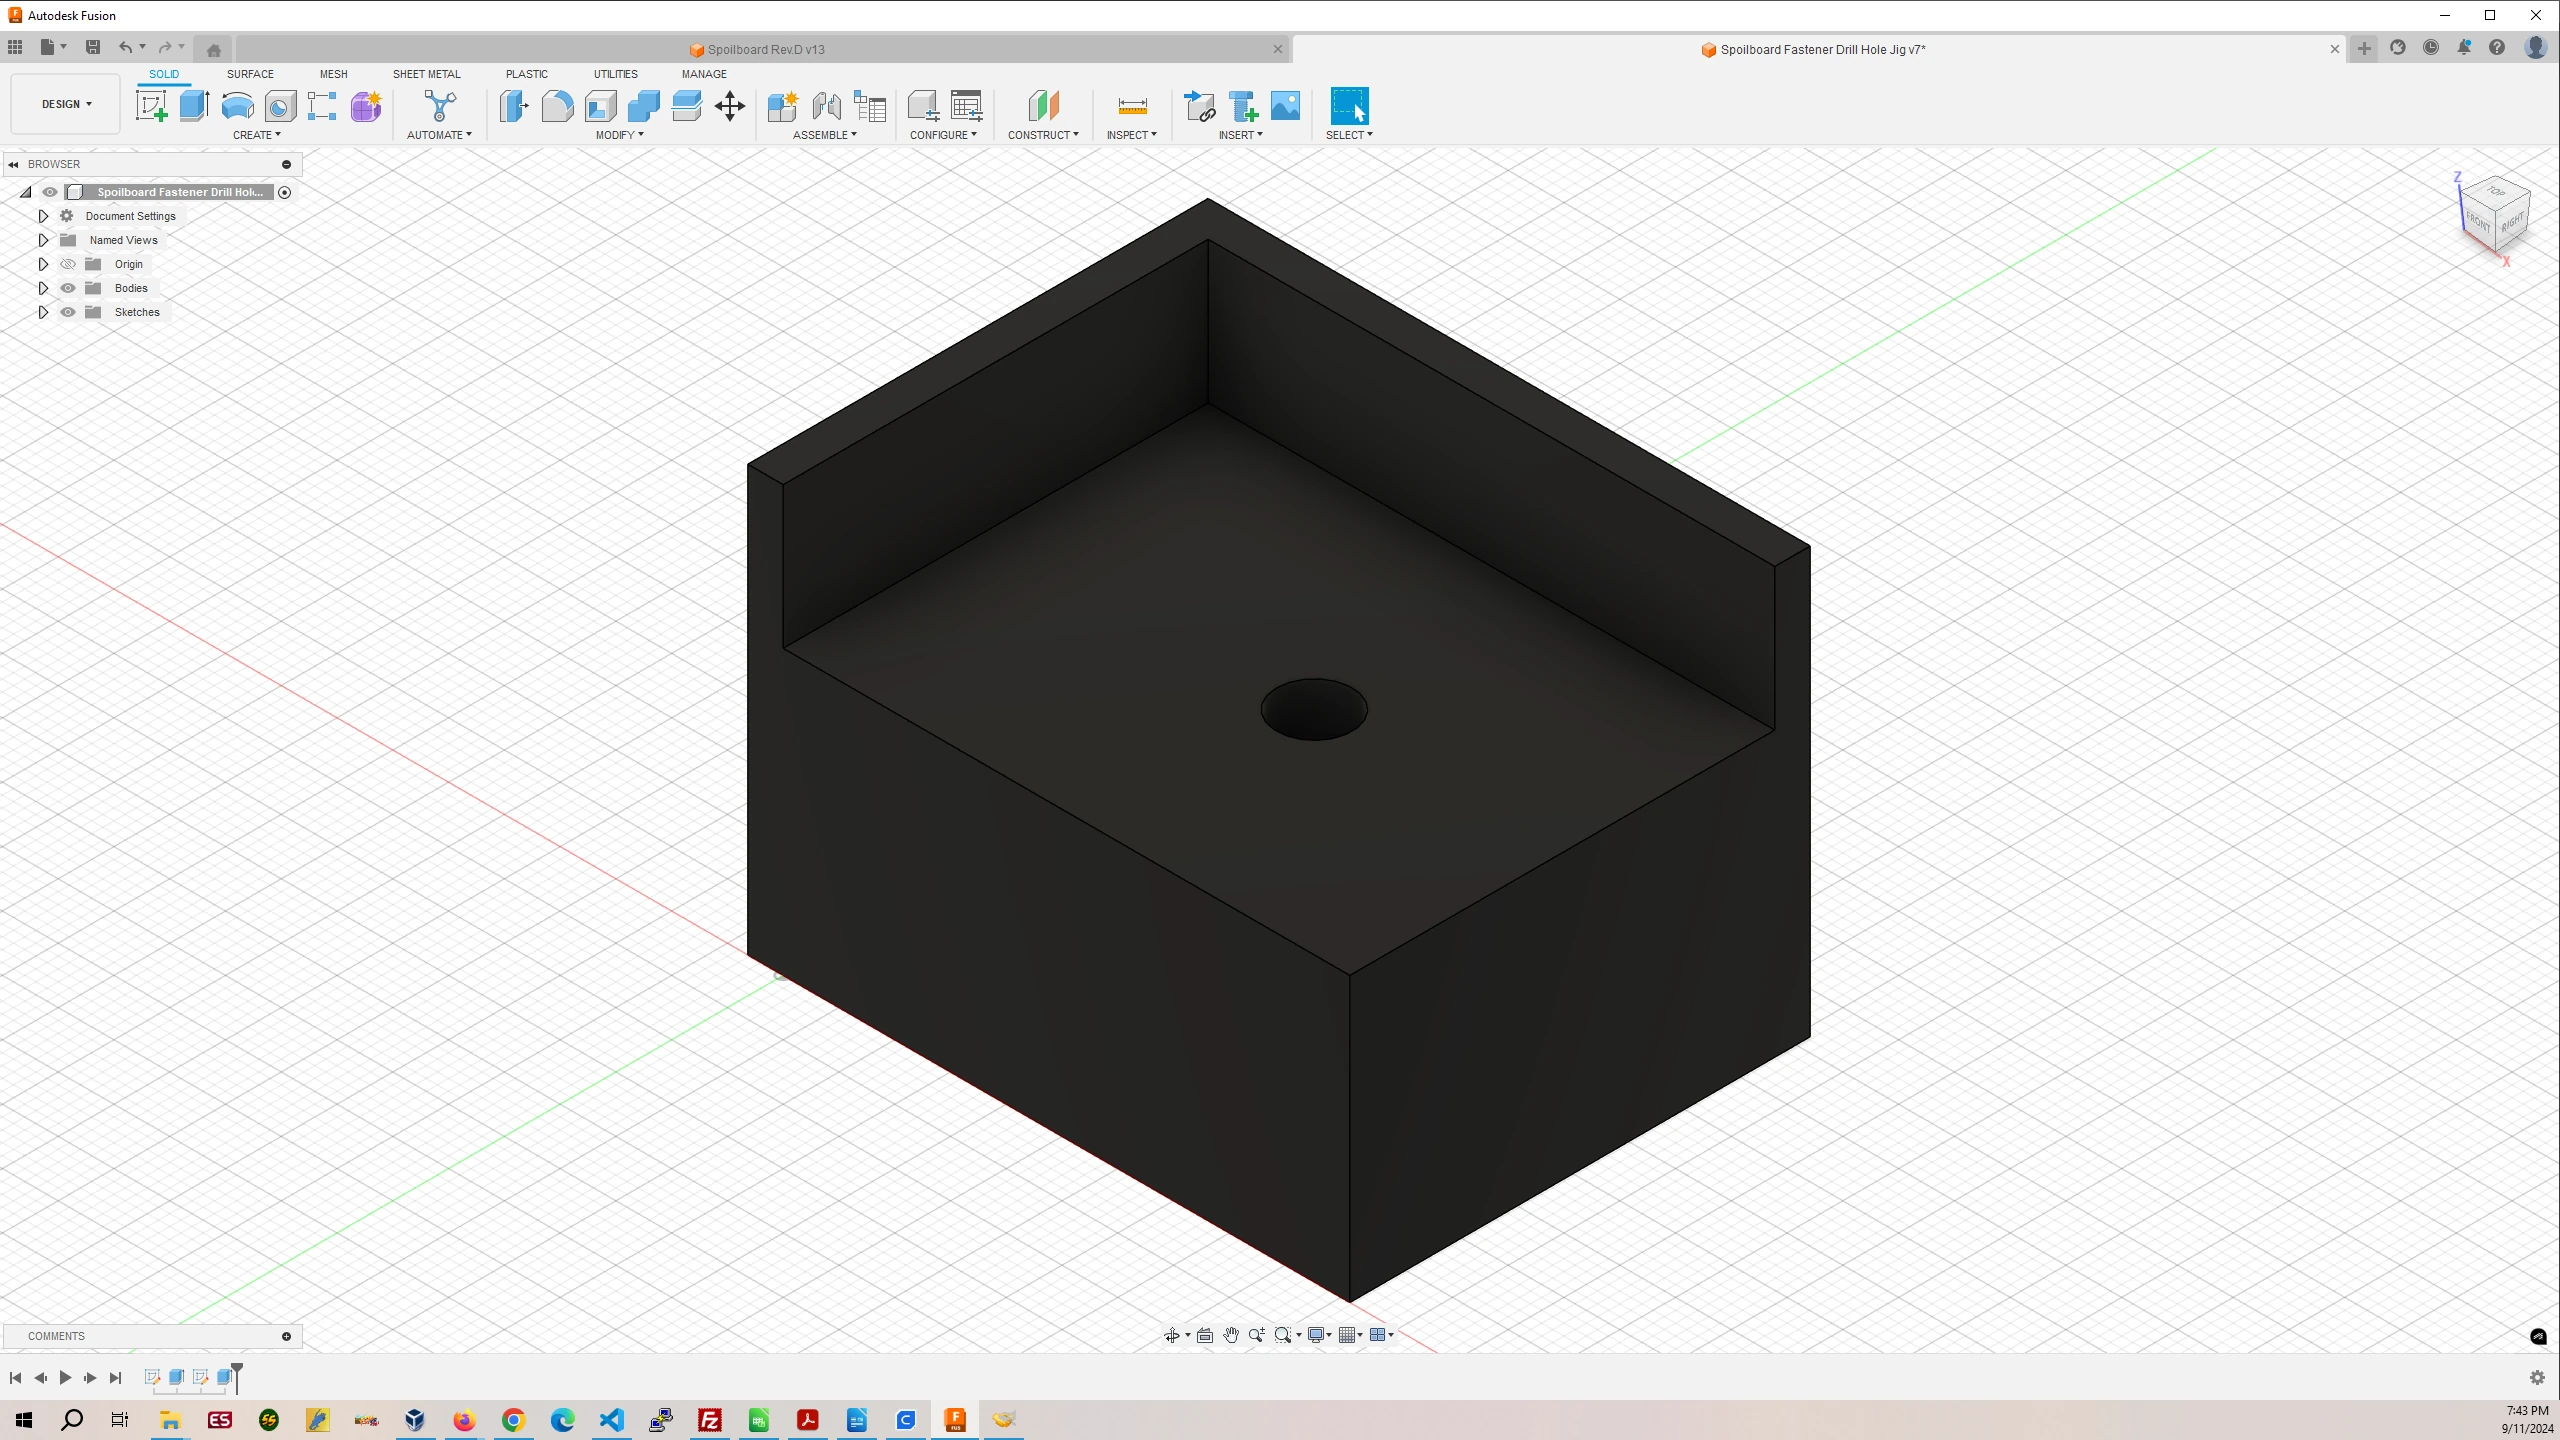
You want to drill the holes for the spoilboard while it is on the workbench so you can drill straight on through the workbench’s plywood table top. When all the holes are drilled temporarily remove the spoilboard and use the 9mm drill bit in the bag of 1/4″-20 x 20mm threaded inserts. This will widen the hole in the plywood table top allowing the threaded inserts to be screwed into the table top with the included allen wrench.

Once the threaded inserts are installed put the spoilboard back and use 1/4″-20 bolts to secure it to the workbench table top.


4. Milling the Spoilboard Dowel Pin and T-Nut Holes

I have designed a spoilboard that uses t-nuts hammered into recesses on the backside of MDF to use with 1/4″ threaded rods which will allow use of 3D printed clamps with washers and wing-nuts to tighten the clamps to the spoilboard. Building these clamps and spoilboard are dramatically cheaper than buying off the shelf ones online or using Aluminum t-track.